Your Recent Search:
Your Snow Plow Blade Installation Checklist
April 17, 2018
Proper snow plow blade installation is vital. If the job is rushed or mistakes are made, it can cause the blade to wear unevenly or worse, to break.
Here’s a brief checklist to make sure installation is done right.
 Inspect the moldboard.
Look for signs of wear and tear, as it is vital to the support of the cutting edge. It may appear shortened, which means that the backward torque has increased. Bolts and cutting edges may also be damaged.
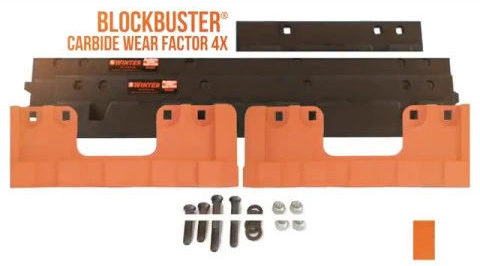
 Remember to use grade 8 nuts and plow bolts.
Grade 8 bolts have an excellent strength-to-toughness ratio and will hold the blade firmly in place and distribute the load over a larger area to prevent weak spots and/or breakage.
 Never use lock washers.
Lock washers are harder than the moldboard and will pierce the opposite side of the moldboard. The washers are very hard and can transform into a cutting mechanism. Shards of metal will appear on the moldboard and tightening the nut is a futile task because no matter how much pressure is applied the metal shards will still flatten. Using hardened lock nuts is key to avoiding this outcome.
 Ensure proper torque.
Too much torque causes hardware to pop off while too little will cut off the bolts, which is caused by blades moving while they’re being used. We also recommend you tighten your bolts after each eight hour shift. For more information, check out our ultimate guide to torque.
Subscribe to our blog
Get notified when we post a new article
"*" indicates required fields


