Your Recent Search:
How To Get Peak Performance From Your Grading System
May 2, 2018
Replaceable carbide-tipped milling tools consistently outperform standard grading blades but they must be installed, operated and maintained properly in order to provide maximum productivity and the lowest grading costs.
Use these tips to get peak performance from your carbide-tipped road grading system.
 Installation
- After removing old blades from the moldboard and thoroughly cleaning the surface, securely bolt the blade.
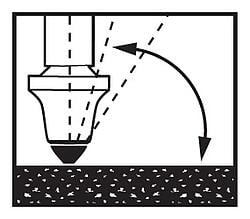
- Set the grading system to the proper operating angle to ensure the best grading results. Talk to a Winter® Equipment expert for the proper installation angle.
Operation
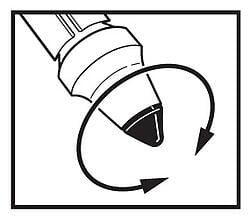
- Before operation, tools should be checked to ensure that they are rotating freely.
- A tool not rotating will leave a “drag mark” and should be freed. Failure to do so will cause premature wear of the carbide tip.
- Tools should only penetrate surfaces to a depth of approximately ¬æ” to 1″.
- Not recommended for use over large rocks and boulders.
 Maintenance
- If tools aren’t rotating, pressure wash the tools and rotate them by hand. Those not rotating, punch out and clean the bore hole and tool sleeve, then punch back in.
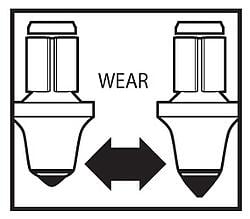
- When center tools wear down to ½ to 2/3 of their original size, rotate them with less worn outside tools.
- Replace the tool if carbide wears to a flat spot, breaks, or carbide wears off.
- If the adapter board on the outside shows wear, rotate with center section.
- Routinely check for lost, worn, and damaged tools.
Using these tips, you can extend the life of your milling tools and outperform standard grading blades.
Subscribe to our blog
Get notified when we post a new article
"*" indicates required fields
